> ## Documentation Index
> Fetch the complete documentation index at: https://docs.nylon.dev/llms.txt
> Use this file to discover all available pages before exploring further.
# Invite your team
> Add people to your Nylon organization, manage pending invitations, and remove access.
Connections, API keys, webhooks and billing all belong to the **organization**, so inviting someone gives them the same connected accounts and the same webhook endpoints you have — not a copy.
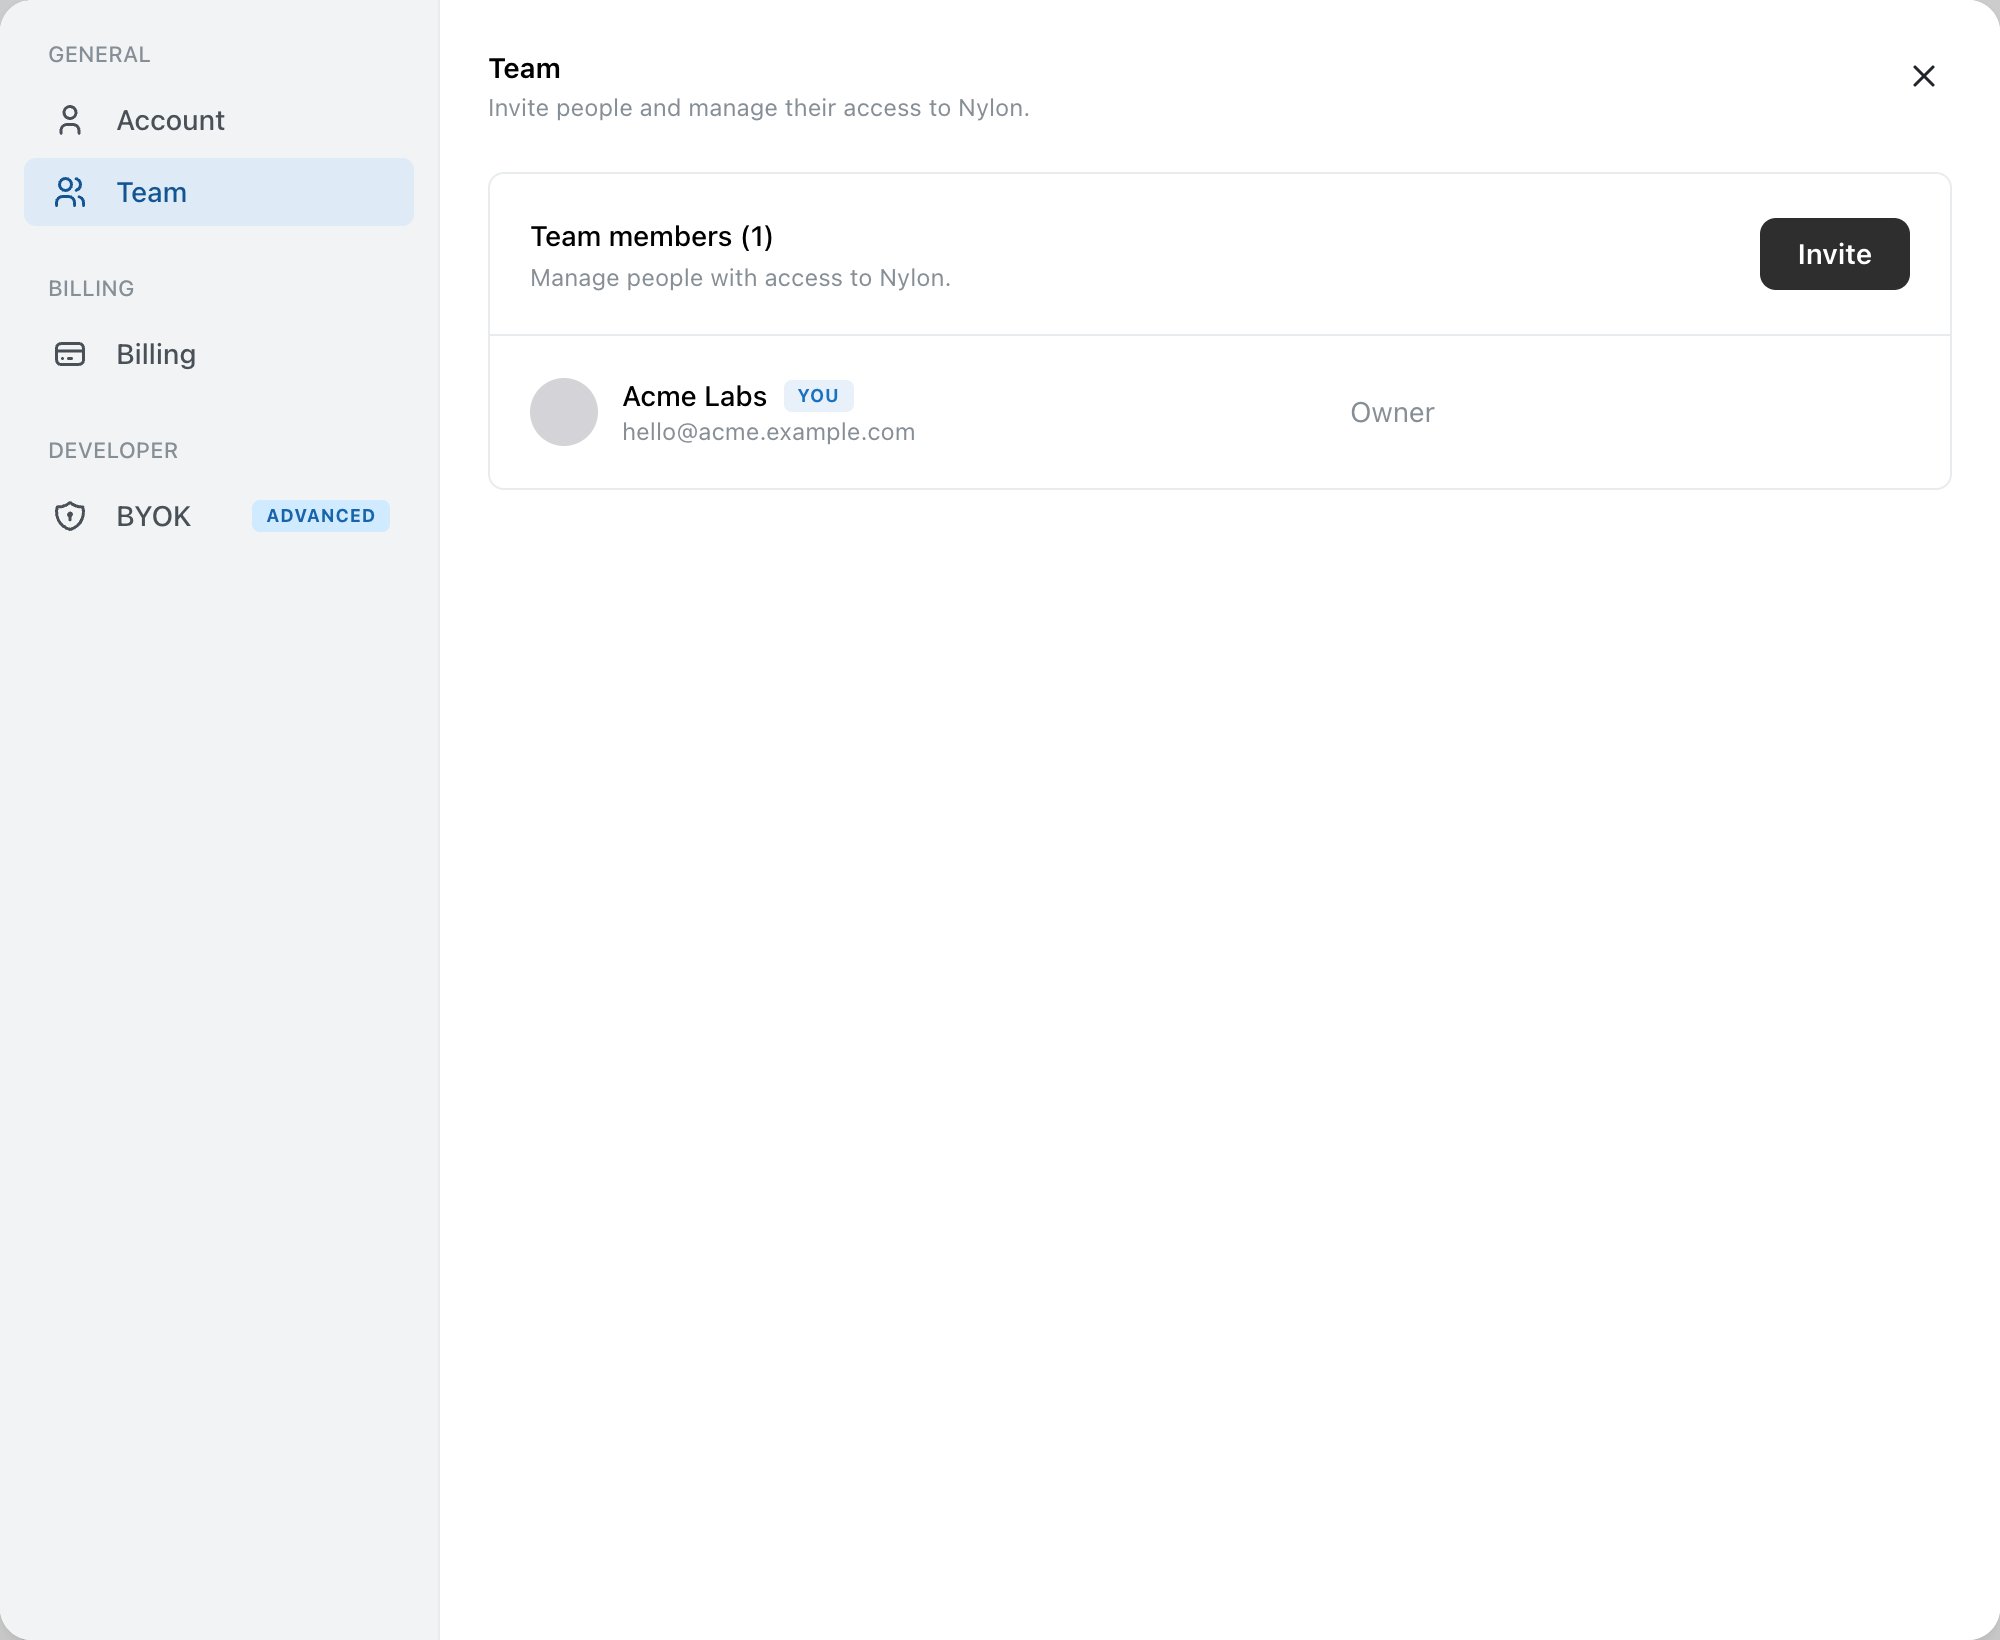
Team settings are at **Settings → Team**. Open settings from your avatar in the top left of the sidebar.
## Invite someone
The button is in the top right of the Team panel. It only appears if your role can manage members.
Admin or Member. See [Roles and permissions](/help/roles-and-permissions) for what each can do.
They get an email with a link. If they already have a Nylon account, they are added to the organization straight away.
 ## Pending invitations
An invitation that has not been accepted sits in the list with its role. Two controls at the end of the row:
* **Resend invite** — send the email again, for the usual reason.
* **Cancel invite** — withdraw it. The link stops working.
You can change a pending invitation's role before it is accepted.
Tell people to sign in **from the invitation link**, not from a bookmark. Signing in elsewhere first leaves the invitation unattached, and it has to be resent.
## Changing someone's role
Select the role dropdown on their row. You cannot assign or change the **Owner** role — see [Roles and permissions](/help/roles-and-permissions).
## Removing someone
The icon at the end of the row removes a member — or, on your own row, leaves the organization.
Removing someone does **not** revoke the API keys they created. API keys are owned by the person who made them, but they authenticate against the organization. Go to the **API** page and revoke any key that belonged to them, then roll out a replacement wherever it was used.
That is worth putting into your offboarding checklist, alongside rotating any [webhook signing secrets](/help/webhook-deliveries-and-failures) they had a copy of.
## Related
What Owner, Admin and Member can each do.
Rotating keys when someone leaves.
## Pending invitations
An invitation that has not been accepted sits in the list with its role. Two controls at the end of the row:
* **Resend invite** — send the email again, for the usual reason.
* **Cancel invite** — withdraw it. The link stops working.
You can change a pending invitation's role before it is accepted.
Tell people to sign in **from the invitation link**, not from a bookmark. Signing in elsewhere first leaves the invitation unattached, and it has to be resent.
## Changing someone's role
Select the role dropdown on their row. You cannot assign or change the **Owner** role — see [Roles and permissions](/help/roles-and-permissions).
## Removing someone
The icon at the end of the row removes a member — or, on your own row, leaves the organization.
Removing someone does **not** revoke the API keys they created. API keys are owned by the person who made them, but they authenticate against the organization. Go to the **API** page and revoke any key that belonged to them, then roll out a replacement wherever it was used.
That is worth putting into your offboarding checklist, alongside rotating any [webhook signing secrets](/help/webhook-deliveries-and-failures) they had a copy of.
## Related
What Owner, Admin and Member can each do.
Rotating keys when someone leaves.